Welcome back to the blog guys. In todays article you will learn how to seamlessly integrate your website with Cloudflare CDN and update your nameservers on GoDaddy with this comprehensive guide.
What is Cloudflare?
Cloudflare is content delivery network (CDN) that provides various cybersecurity services. Its primary function is to enhance the performance, security, and reliability of websites. The primary function of CDN is to provide network of geographically distributed servers that work together to deliver website content to users based on their location. CDNs store (or cache) copies of your website’s static files (such as images, CSS, JavaScript, and videos) on multiple servers located around the world, ensuring that content is delivered from the closest server to the user. This reduces the distance data has to travel and speeds up the delivery process.What are the benefits of adding a website to CDN like Cloudflare?
The key benefit of using CDN like Cloudflare are Improved Website Speed and Performance by reducing the latency and caching static content. This will reduce significantly the usage of your hosting and free some additional resources on your server. Using Cloudflare enhances your website security by providing DDoS protection from hacker attacks and data encryption. Using a CDN is a valuable solution for websites looking to improve speed, reliability, security, and scalability. It’s especially beneficial for websites with global audiences, high traffic, or performance demands. By serving content from servers close to users, a CDN ensures fast and reliable web experiences while reducing the load on the origin server.How to add WordPress website to Cloudflare?
01 Click “Add site”
First you need to login to your Cloudflare profile. I assume you already have a registration. If you don’t, you will have to go through the registration process first. When you login click on the “Add Site” or “Add domain” buttons.
02 Enter your domain name
On the next page enter your domain name. No need to put w w w or https. Just the domain name.
03 Leave default options
For faster setup, leave the options below as default.
04 Click “Continue”
Move forward by clicking “Continue.
05 Click “Free”
On the next screen you will be presented with the Cloudflare plans. For me the Free plan is enough and offers most of the things I need, but if you want to explore the paid options, you can do that too. Otherwise select the free plan by clicking on it.
06 Click “Continue”
Proceed by clicking “Continue” again.
07 Scanning for existing DNS records
Wait for the system to scan for existing DNS records and add them automatically to Cloudflare.
08 Click “Continue to activation”
After your DNS records have been added continue by clicking “Continue to activation.
09 Click “Change your nameservers”
Next step is to change your nameservers.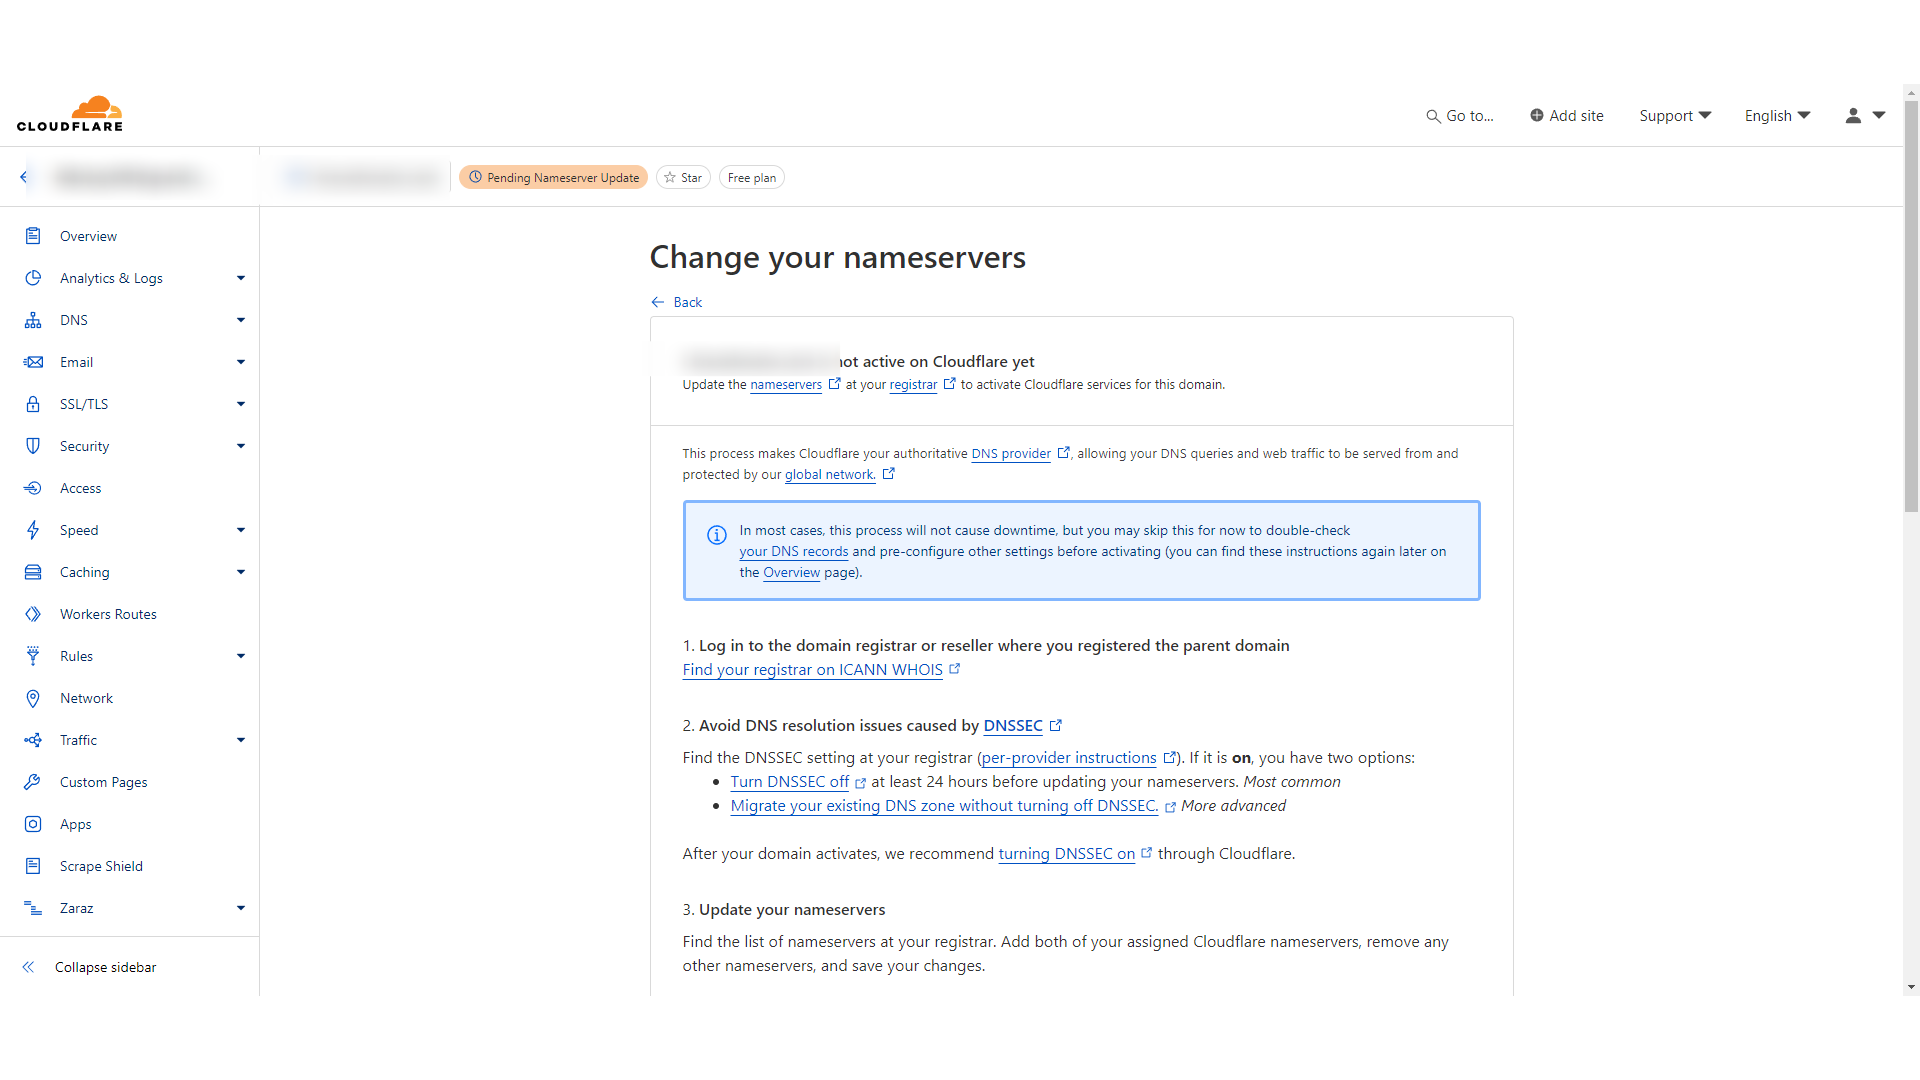
10 Click “Click to copy”
Scroll down on the page and copy the provided nameserver information by clicking on “Click to copy”.
11 Click on Settings icon
Login to your domain registrar and find where is the option to update your nameservers. I am using Godaddy.com – one of the best domain providers in the world. If you want to check it our I will leave a link in the description below. When you login to your Godaddy account go to domain management and click on the settings icon.
12 Click “Edit nameservers”
From the submenu select “Edit nameservers” option.
13 Paste the nameserver
Select the option “I’ll use my own nameservers” and paste the nameserver you copied from Cloudflare in the first field.
14 Click “Click to copy”
Go back to Cloudflare and copy the second nameserver address.
15 Paste the second nameserver
Paste the nameserver in the second field.
16 Click “Save”
Save the changes by clicking on “Save” button.
17 Click “Confirm”
Click “Confirm” to proceed with the change.
18 Click “Continue”
Go back to Cloudflare and proceed by clicking “Continue”.
19 Click “Check nameservers now”
Changing the nameservers takes time. It is like telling everyone you moved your party. Some guests show up right away, but others take the scenic route or stop for directions. So, relax! It just takes time for everyone (the internet) to get the memo and arrive at the right spot. You can speed up the process by clicking “Check nameservers now”. Cloudflare will periodically check for the change and as soon as it’s done, your traffic will be rooted through Cloudflare servers.
20 Checking the nameservers change.
Don’t worry the whole process is fully automatic and your website will be working during this time.
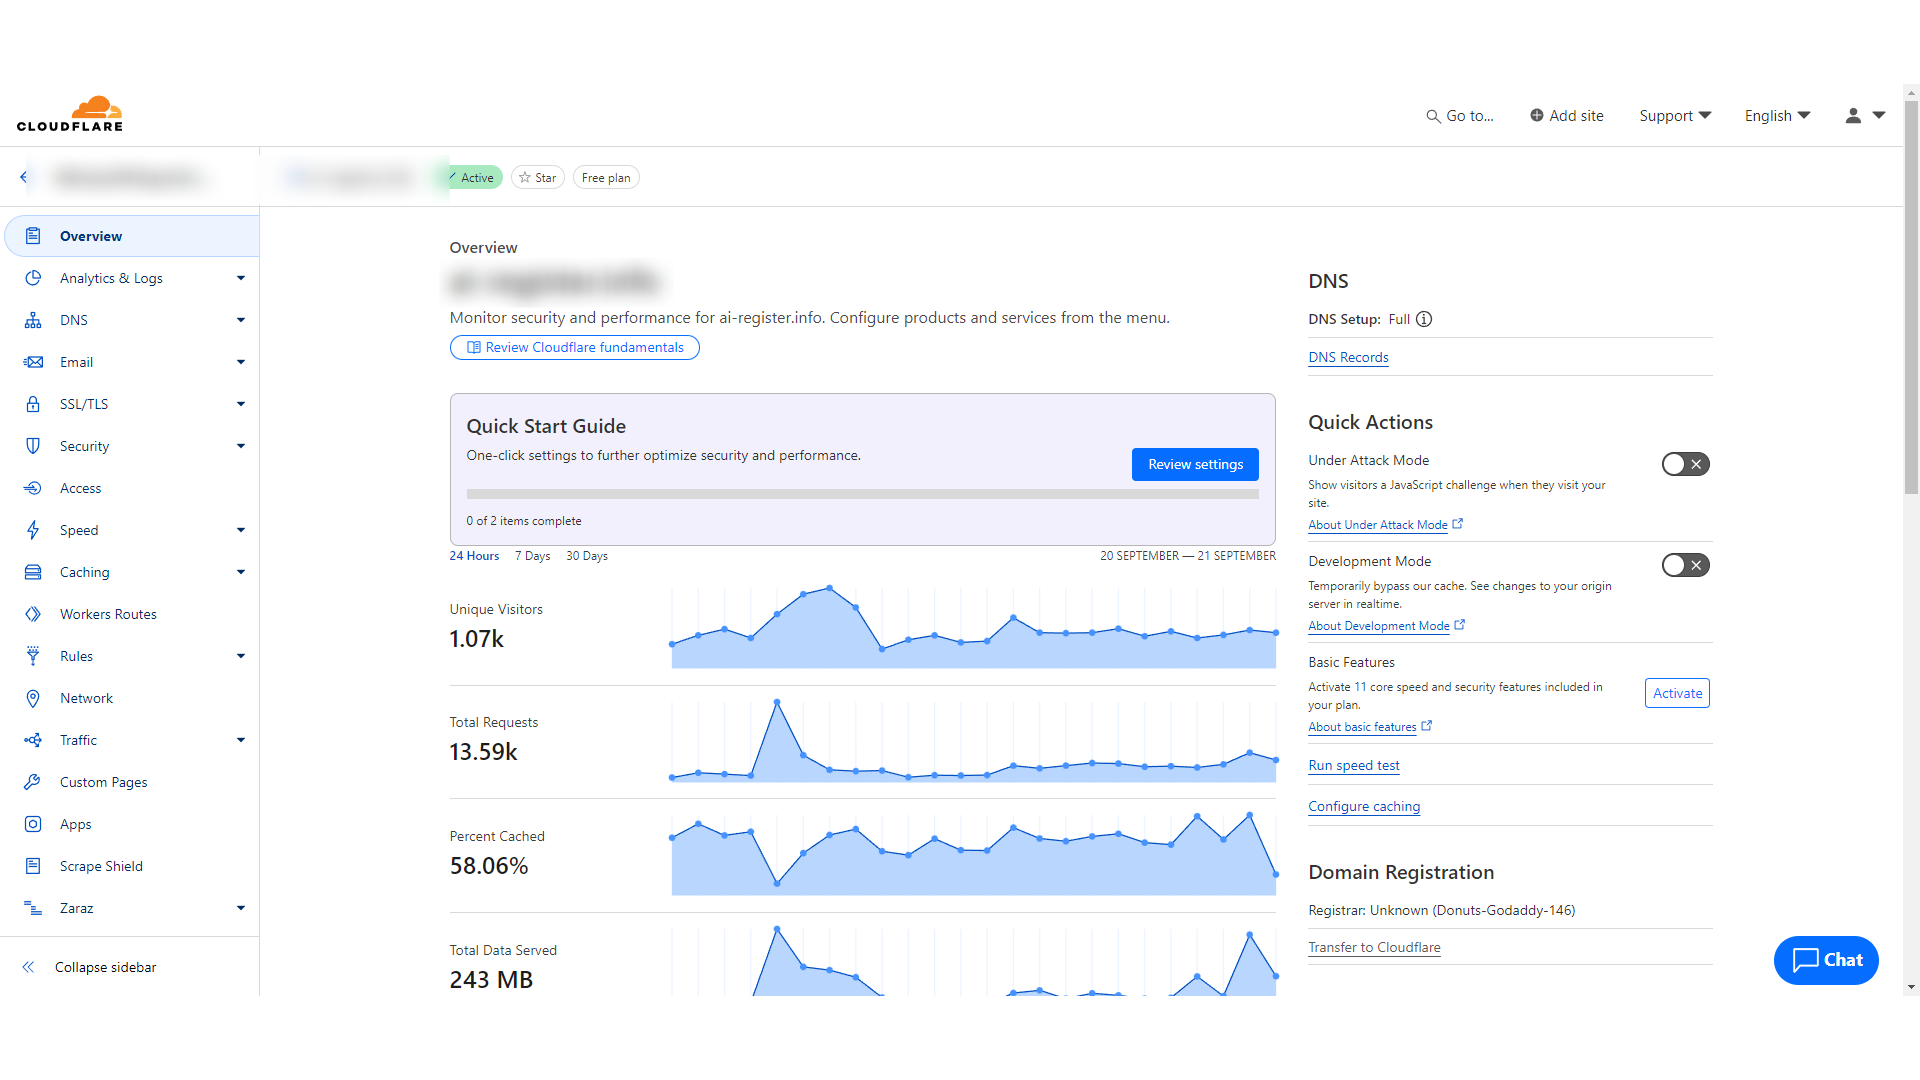
21 Click “Unique Visitors”
When the new nameservers are propagated, Cloudflare will start showing traffic statistics and your website will be faster and more secure.